We could earn a fee from hyperlinks on this web page.
Unboxing a brand new kitchen equipment is one among my favourite experiences—it’s a non-holiday current and I do know what’s inside—how fantastic! However the instruction guide half actually kills my vibe. I do know tossing it apart will virtually certainly result in failure, however I hate studying them anyway.
In reality, I did learn the operation guide for the Ninja Slushi, and I nonetheless managed to screw up my first batch of slush. (You may examine that have in my overview of the Ninja Slushi.) That will help you keep away from the disgrace of a ruined slush, to not point out studying the tedious directions, I’ve assembled this step-by-step information on working your new Ninja Slushi, from set-up to clean-up.
Notes on sugar and alcohol
Earlier than getting began, know that what you set into the machine will instantly have an effect on your success. Particularly, the liquid you’re utilizing should have no less than 4% sugar content material. If it doesn’t, it is going to turn into too icy, and the machine could have hassle scraping the frozen combination out of the evaporator cylinder. (You may’t use synthetic sweeteners or sugar substitutes both, except you need to fall down a rabbit gap of allulose and xanthan gum and brightly hued, sugar-free prepackaged slushie mixes.)
Ninja supplies just a little chart indicating the minimal quantity of sugar you want for a selected serving dimension. Make a easy syrup by mixing the quantity of sugar with an equal quantity of water and microwaving it till heat. Stir the combination till the sugar dissolves. This straightforward syrup might be added to your larger recipe combination earlier than pouring it into the Ninja Slushi (ensure to account for the water out of your easy syrup in your total calculations).
Even when you tousled and froze a chilly brew combination with none sugar accidentally, you’ll be able to repair it. (Perhaps I do know this primary hand? Perhaps I don’t.) The machine will cease if it detects an issue along with your sugar content material through the churning course of. That is your likelihood to make a easy syrup with the correct quantity of sugar and pour it in to the combination. Don’t add sugar on to the chamber mid-freeze—it could have hassle dissolving into the partially frozen drink.
Alcohol has an analogous stipulation—a minimal of two.8% and a most of 16% alcohol should be current to make a spiked slush that may freeze correctly. Once more, there is a useful chart to information you in your journey, however as soon as you already know these guidelines and abide by them, the machine will play good.
Now, let’s make that slush.
1. Arrange the Ninja Slushi

Credit score: Allie Chanthorn Reinmann
Like dishware, bakeware, and the rest from a dusty manufacturing unit, it’s a good suggestion to take aside the Slushi and clear the components with soapy water earlier than you set meals in it. That features the drip tray, the primary vessel, the condensation catch, and the auger (that spiral thingy). The silver evaporator is just not detachable, so simply wipe it down with a mushy material. Dry the whole lot totally.
It’s no small equipment, so ensure you clear off a pleasant part of your countertop. There are vents on the edges and again, so give these areas room to breathe too. Put the components again of their respective areas. The primary vessel sits into the bail deal with within the again, as you pull it backward. It received’t make a clicking sound, however it is going to sit there securely safe. As soon as reassembled, plug within the machine.
2. Pour within the liquid combination

Credit score: Allie Chanthorn Reinmann
The enjoyable half is sort of right here! Open the hatch on the highest of the primary clear container. Pour the combination in, multi function go. Relying on how your Ninja Slushi is located on the countertop, this may be just a little laborious to do gracefully. I like to recommend utilizing a pitcher or a bottle—any container with a considerably slim pour spout—for extra precision.
3. Energy up

Credit score: Allie Chanthorn Reinmann
Click on the ability button on the management panel. The entire options ought to gentle up. On the left aspect, you’ll see the presets. Choose the one which greatest matches the combination you made: an everyday soda slushie can be the “Slush” preset, an alcoholic slushie can be “Spiked Slush,” a espresso frappé can be the “Frappé” setting, and so forth for milkshakes and frozen juices. This time, I made a decision to make a chocolate milkshake. Press the button you want and the best aspect panel ought to routinely gentle up with the variety of bars that point out the temperature. The machine ought to begin churning, so all it’s a must to do is wait.
What do you assume to this point?
Be aware that that is the stage the place the Ninja Slushi will provide you with a warning when you didn’t add sufficient sugar or if there’s an issue with the alcohol content material. You understand how so as to add extra sugar, and extra alcohol can go instantly within the machine if wanted—however when you added an excessive amount of alcohol to begin, you could repair that by pouring in some water to dilute the combination. If the tank is already on the Max Fill line, dispense some combination earlier than including water to dilute it.
4. Dispense and modify consistency

Credit score: Allie Chanthorn Reinmann
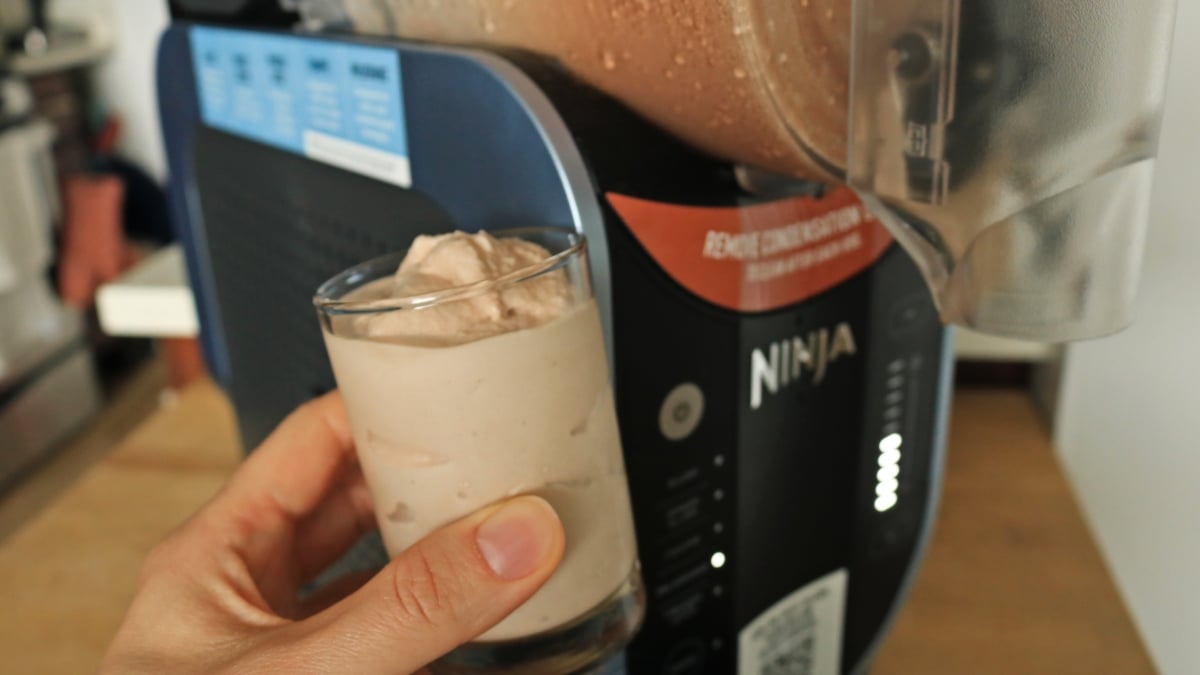
As soon as the Slushi has completed the setting cycle, it’ll play you just a little ditty to sign it’s prepared, however the auger will hold spinning. Seize a glass and maintain it underneath the spout. Pull the deal with towards you and maintain it to dispense your slushie. The deal with doesn’t have a locking mechanism whereas meting out, so it’s a must to hold strain on it or it’ll spring shut.
In case you’re blissful along with your slushie’s consistency, hooray! In case you aren’t, you may make it thicker or thinner by manually urgent the up arrow (for a thicker, colder slushie) or the down arrow (for a hotter, extra liquid-y slushie). The machine will provide you with a warning when the brand new temperature has been reached.
5. Clear the whole lot totally
After the occasion is over, you’ll want to wash up your Ninja Slushi. If there’s nonetheless slushie left within the container, dispense all of it right into a bowl or container. You must do that with the preset working as a result of it’ll push the combination down and out of the spout. Discard it or put it aside to slush one other day.
Flip off the preset and choose the rinse button. Have a giant container helpful—I take advantage of a 4-quart pot as my helper of alternative. Pour sizzling water all the best way as much as the Max Fill line, then put the pot underneath the spout and slowly dispense all the water. Liquid comes out method sooner than slush, so solely pull the meting out deal with towards you possibly 30%.
As soon as all the water is out, cease the rinse cycle by urgent the rinse button once more, then press the ability button to show the machine off. Unplug it and disassemble the identical components you washed earlier. I hand wash them with heat soapy water, however when you have a dishwasher, the instructions say you’ll be able to toss all of the components in there. Wipe down the evaporator with a heat, damp material. Dry the whole lot off earlier than assembling the items once more for storage, or to make your subsequent slushie.