The Steam Deck modified the sport for PC gamers, opening up a world of portability that was often reserved for Nintendo followers. Naturally, producers tried to comply with go well with with Home windows-based handhelds and the outcomes are, let’s say, blended. Now, Valve has launched official directions for putting in its SteamOS on gadgets apart from the Steam Deck. Let’s dive into how one can do it—and whether or not it’s best to.
I ought to observe up entrance: That is going to be a nebulous space in relation to official assist from the corporate that made your handheld. At time of writing, the Lenovo Legion Go S is the one handheld with the “Powered by SteamOS” branding (in addition to the Steam Deck itself), that means it is formally supported with a remaining construct. You may set up SteamOS on gadgets just like the Legion Go and the ROG Ally, however their assist is not remaining.
Additionally, it ought to go with out saying, however we’ll say it anyway: Should you wipe Home windows out of your handheld, you will not have the ability to play Home windows-based video games that are not supported through SteamOS. That largely consists of on-line video games that require anti-cheat software program, but it surely’s price checking websites like ProtonDB to ensure your favourite video games will work on SteamOS.
Why must you set up SteamOS in your Home windows handheld?
So, with the caveats out of the way in which, what are the upsides? Put (overly) merely, Home windows just isn’t designed for handhelds. Actually, below the hood, Home windows tends to see your gaming handheld as a laptop computer. Proper all the way down to together with issues like Microsoft Groups that run within the background, or popping up alert bins that interrupt your sport to tell you of a low battery.
Now that persons are in a position to experiment with SteamOS and Home windows on the identical {hardware}, it is turning into clearer that Home windows itself is an enormous nerf to each body fee and battery life. Even gaming laptops, which might usually final all day for regular work, can wrestle to get even a number of hours of gameplay whereas away from a charger. That is why it is so necessary to tweak your settings for the perfect battery life.
Gaming handhelds solely make this drawback worse with a smaller kind issue, and thus a smaller battery. In my very own expertise, I’ve struggled to get two hours of enjoying a light-weight sport like Stardew Valley from a Home windows handheld, whereas the Steam Deck and even the Swap can get upwards of six hours or extra.
Since Home windows is primarily designed as a desktop (and secondarily as a pill) pc, it is also more durable to tweak settings utilizing controller inputs. What, precisely, is the controller equal of Ctrl+Alt+Delete once more? Whilst you can plug in a keyboard to dig round in your handheld’s settings, it is simply simpler to do on SteamOS, since its interface has been constructed from the bottom up for controller enter.
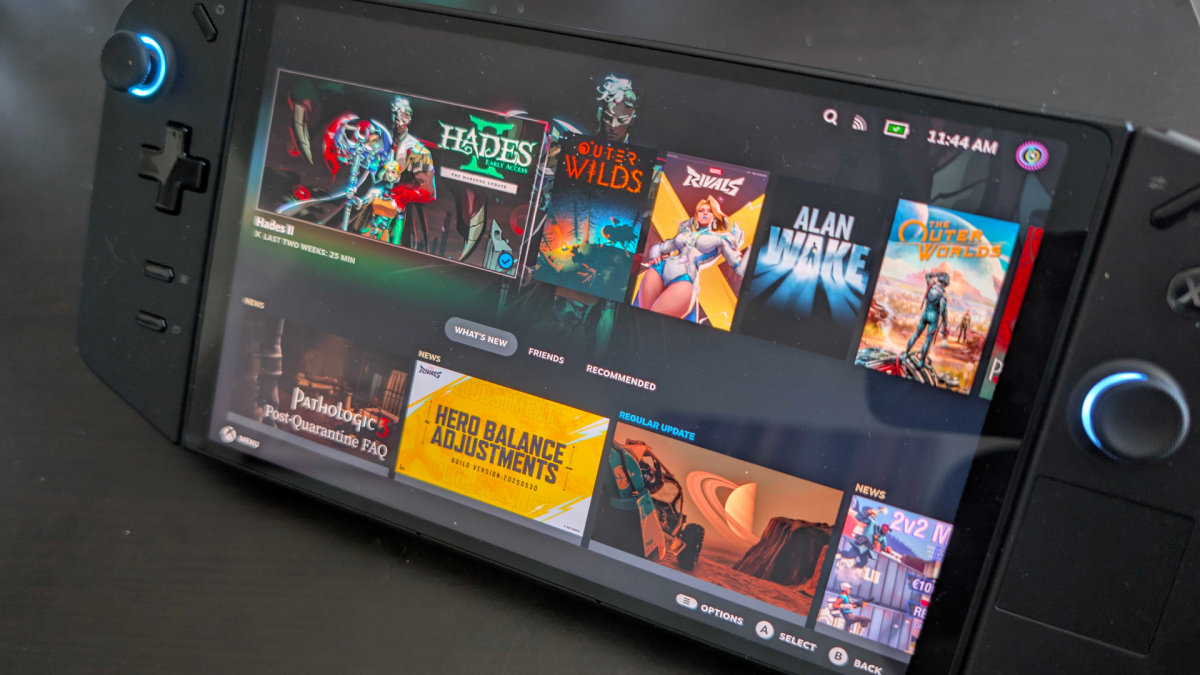
At this level, Valve has additionally proven that working Steam video games through the Proton compatibility layer works so effectively that it is virtually seamless. I admit, when the Steam Deck was first introduced, I anticipated video games to be damaged or carry out a lot worse than their native Home windows counterparts. 4 hundred hours in Hades II later, although, and it is clear that many video games can truly run higher on SteamOS than Home windows.
Step 1: Obtain and put together a SteamOS restoration picture USB stick
With all that out of the way in which, let’s get began. To put in SteamOS in your gaming handheld, you may want two issues: the SteamOS restoration picture and a USB stick (ideally USB-C) with not less than 8GB of storage. Ensure something on that USB stick is correctly backed up, as a result of this course of will reformat that gadget.
The Steam Deck restoration picture will be discovered right here. It is a little bit over 3GB, so it’d take a short while to obtain, relying in your connection. Whilst you look forward to that, you may additionally want a utility to create the restoration USB drive. Valve recommends Rufus for Home windows customers, and Balena Etcher for Mac or Linux customers.
As soon as the restoration picture is downloaded, use whichever device you selected to write down the restoration picture to your USB drive. This course of needs to be comparatively simple. Rufus, for instance, will current you with a dropdown to pick out which drive to write down the file to below Gadget, and below Boot Choice, click on Choose to choose the restoration picture file. Click on Begin and wait. Reminder: This can wipe the contents of your USB drive.
Step 2: Disable Safe Boot in your handheld
This half is usually a bit tough, and the precise course of will differ relying on which handheld you personal. Valve has a breakdown of the steps right here for a pair particular gadgets, just like the Legion Go and the ROG Ally. Nonetheless, different gadgets like these from MSI or Ayaneo may have their very own course of.
On the whole, the steps will often go one thing like this:
What do you suppose to date?
-
Reboot to the bios. Much like how one can maintain Del or F2 on a pc whereas rebooting to get to the bios, your gaming handheld has an analogous course of. Usually it is holding a button like Quantity + whereas urgent the ability button, however test your particular gadget’s directions if that does not work.
-
Navigate to the Safe Boot settings. You’ll have to poke round for this one. Search for classes like Safety, and you could want to modify to an Superior settings mode or menu to search out it. This setting needs to be referred to as Safe Boot. Change this to Disabled.
-
Save settings and restart your gadget. As soon as you’ve got modified the Safe Boot setting, be certain that to avoid wasting the adjustments to your bios and restart.
Relying on the gadget, you might need to make use of the touchscreen to navigate the bios, and even plug in a keyboard or mouse. Once more, Valve has specifics for a few gadgets within the hyperlink above, however in the event you’re misplaced, your gadget’s producer might be your finest wager for getting particular directions.
Step 3: Boot utilizing the SteamOS restoration picture

Credit score: Eric Ravenscraft
As soon as you’ve got disabled Safe Boot, you’ll be able to plug the USB stick into your handheld and restart the gadget. At this level, it’s best to find yourself at a boot menu that allows you to select which drive besides to. As soon as once more, this course of will typically differ by gadget, so in the event you’re undecided how one can get to the boot menu, test your gadget’s documentation.
If you get to the boot menu, choose your USB drive with the SteamOS restoration picture on it. This can take you to a SteamOS desktop atmosphere. Right here, you may see 4 shortcuts on the desktop. The one we care about is labeled “Wipe Gadget & Set up SteamOS”. Give {that a} single faucet (double-tapping will launch it twice, so watch out).
At this level, it’s best to see a warning that continuing with this step will erase every little thing in your gadget. Should you had any necessary sport saves, media, or work information (for some purpose) on this gadget that weren’t already backed up, you’ll be able to nonetheless bail on this course of and reboot to Home windows to avoid wasting them. That is the purpose of no return, although. Ensure you’re prepared earlier than transferring ahead.
Step 4: Familiarize your self along with your new handheld’s quirks

Credit score: Eric Ravenscraft
The set up course of will not take too lengthy, and when it is achieved, your handheld will restart and start setup as if it is a natural-born Steam Deck. There are a number of quirks, although. For instance, in my testing on the Legion Go, the gadget tutorial pointed to the “Steam button” on the bottom-left facet, however used the Xbox brand. In actuality, the corresponding button was on the top-right, and had a Legion brand. It additionally pointed to a microSD card slot on the underside of the gadget that does not exist.
Until you are utilizing an official “Powered by SteamOS” gadget, put together for some awkwardness whereas utilizing the gadget. Apart from the tutorial, I discovered some video games I wasn’t in a position to set up—urgent “Set up” on Doom Everlasting merely did nothing, for instance—and it took a while to determine which {hardware} buttons had been mapped to which Steam Deck enter.
To my shock, some issues that I anticipated to be damaged labored completely once I examined this. The Legion Go is exclusive in that its controllers will be indifferent, Pleasure-Con model, from the hand held. I anticipated them to be laggy or non-functional once I performed with SteamOS, however they labored completely throughout a Hades II run—a sport that is not very forgiving of enter lag.
Your mileage can and can differ relying on what video games you wish to play and what {hardware} you wish to run SteamOS on. Nonetheless, as we look forward to producers to extra formally assist SteamOS—or for Microsoft to make a correct handheld of its personal—it is thrilling to lastly have the ability to have a selection in platform for these gadgets.