We might earn a fee from hyperlinks on this web page.
If you happen to personal a Lectric XPeak 2.0 e-bike, it is attainable to switch a ton of facets of the bike proper from the onboard display screen, together with altering the highest velocity, adjusting the throttle and pedal help, controlling the lights, and extra. However these settings aren’t readily comprehensible from the show alone, so this is a step-by-step information to learn how to change settings on a Lectric e-bike, in addition to some options on which settings you must change, and which you undoubtedly should not.
(You may try my evaluation of the Lectric XPeak 2.0 proper right here.)
How one can modify the settings on a Lectric XPeak 2.0 e-bike
This is learn how to entry the settings menu of a Lectric XPeak 2.0 e-bike:

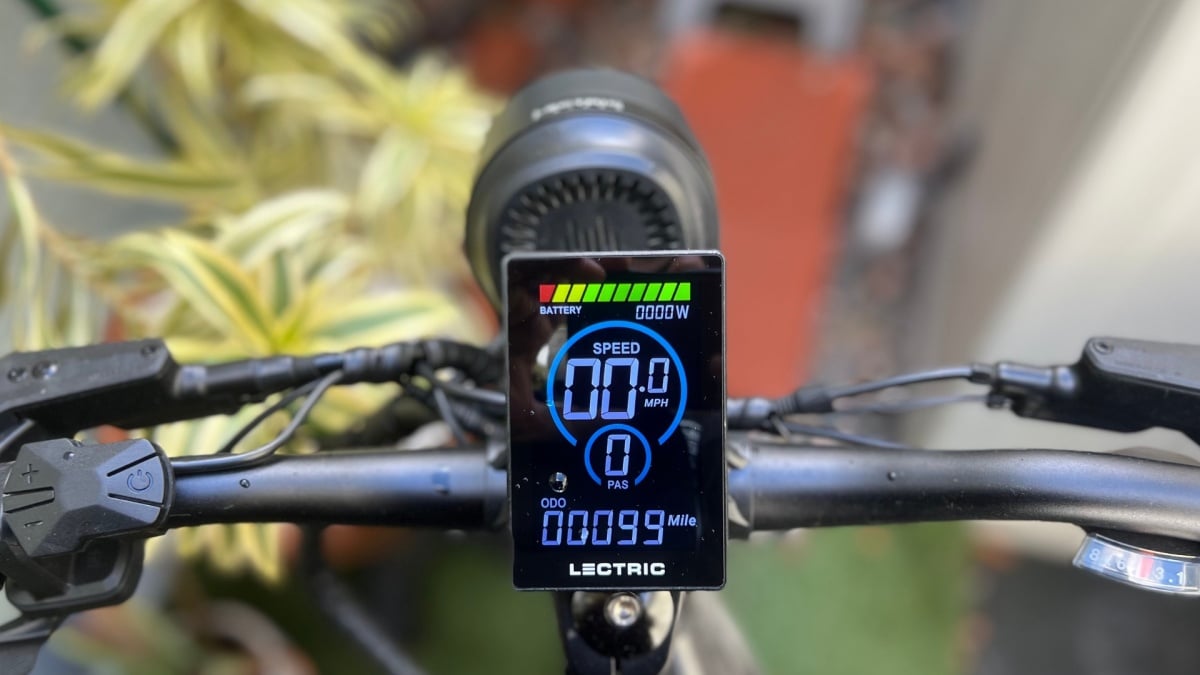
Credit score: Stephen Johnson
What do the completely different settings on a Lectric e-bike do?
If you happen to’ve gotten into the settings menu of your Lectric XPeak 2.0, you possibly can see that the settings are labeled P-1 by means of P-22 with no different data accessible on display screen. That is not quite a bit to go on, so this is what the settings do. (You will discover there are a couple of settings I skip over—I will go over that in one other part under.)
-
P1: Adjustments the brightness of the show display screen. There are three settings. “1” is dimmest. “3” is brightest. Default is 2.
-
P2: Toggles between miles and kilometers. “0” is kilometers. “1” is miles.
-
P4: Sleep timer: Adjustments how lengthy it’s going to take for the bike to energy off if not used. The default is 10 minutes, however you modify it from “0” (which implies it by no means robotically turns off) to 60 minutes.
-
P6: Tire dimension: You may change this from 27 to 31. That is used to compute distance and velocity, and should not be modified except you have modified tire dimension from the default, 29.2.
-
P8: Pace restrict: This units the bike’s high velocity. 32 is a “Class 2” setting, which means the highest velocity is 20 mph. 45 is “Class 3,” boosting the velocity restrict to twenty-eight mph when utilizing pedal help. The default is 32, or 20 mph, so you will want to vary this if you wish to go sooner.
-
P9: Throttle lively toggle: Setting this to 0 means the throttle can be utilized from a standstill. Setting it to 1 means the throttle can solely be used when the bike is transferring.
-
P10: Throttle/pedal help system toggle: There are three settings right here: “0” means the pedal help is lively, however throttle isn’t. “1” means solely the throttle is lively, with no pedal help. “2” means each PAS and throttle are lively. The default is 2, which most customers will wish to use more often than not, however there are circumstances the place it is smart to vary it (see under).
-
P11: Multiplier toggle: This adjustments the torque in your bike. “0” is the default, regular torque multiplier. “1” is elevated torque multiplier. In order for you faster acceleration, set this to “1,” however do not change it till you already know the bike pretty properly—the default multiplier supplies loads of torque. I examined this out and did not discover a ton of distinction anyway.
-
P12: Mild management: “0” means “no mild icon on the show means the entrance and tail lamps are OFF. When the sunshine icon is on, the entrance and tail lamps are ON.” Altering this to “1” means “The entrance and tail lamps are flashing immediately when bike is on. The icon on the show for mild is flashing on the similar charge as entrance and tail lamps.” Whenever you flip the sunshine on in setting one, you will see an icon on the show display screen with no flashing.
-
P13: Stroll mode velocity: “0” units the stroll mode velocity to 3mph. “1” is a barely brisker 3.7 mph.
-
P16: Odometer reset: Maintain the “+” for five seconds to reset the odometer to “0.”
-
P20: Stroll mode toggle: setting this to “0” disables stroll mode. Setting this to “1” permits it. (To activate stroll mode, maintain down the “-” button on the controller. If enabled, your bike will transfer ahead on the velocity you set on P13.)
-
P22: Help degree: “0” limits the pedal help to 9mph when you’re on pedal help degree 1 and 15 mph when you’re on pedal help degree 2. The identical “velocity restrict” applies to the throttle. “1” means the pedal help isn’t velocity restricted on pedal help ranges 1 and a pair of, however the throttle is velocity restricted. “2” means there isn’t a speed-limit on pedal help or throttle, it doesn’t matter what pedal help degree you are in. (In fact the bike’s total velocity restrict of both 20mph or 28mph nonetheless applies.)
Which settings do you have to change on an XPeak 2.0?
The setting that the majority customers might be involved with is P8, the velocity restrict of the bike. The default is a 20 mph velocity restrict that you would be able to attain with both pedal help or throttle, however it’s possible you’ll wish to enhance it to twenty-eight (assuming {that a} class 3 e-bike is authorized in your native space and also you’re skilled sufficient to deal with the additional velocity.) This setting means the throttle or pedal help will take you to twenty mph, then the throttle will minimize off however you should use pedal help to go as much as 28 mph. There isn’t any setting to make use of throttle management to go over 20 mph.
One other setting to think about is P9, the throttle lively toggle. The default setting implies that the throttle might be activated from a standstill, however you would possibly wish to change it so the throttle can solely work if the bike is in movement. If you happen to unintentionally hit the thumb throttle quite a bit, particularly when strolling your bike, this prevents your bike “leaping ahead.”
P10 is one other helpful setting for some conditions. In some locations, it isn’t authorized to experience a “class 2” e-bike, which means one which has throttle management. This setting disables the throttle however permits the pedal help, remodeling your class 2 bike into a category 1.
What about the remainder of the settings?
The Lectric XPeak 2.0 has 22 whole settings that may be modified from the dashboard, however solely 13 are listed above. I appeared into it, and the 9 “secret” settings on Lectric bikes are much less thrilling than I would hoped. They principally seem to be settings that permit completely different fashions of bikes to make use of the identical pc, so they alter issues just like the voltage degree of the system. You should not be capable to change these settings, and, so far as I can inform, there’s nothing to be gained from it when you may. If you happen to did one way or the other handle to unintentionally alter these, and you do not know the right setting, don’t experience the bike till you have spoken to somebody at Lectric who will help you restore the right values.
“I tousled the settings on my Lectric XPeak 2.0! How can I repair it?”
Sadly, there isn’t a “return to manufacturing unit default” setting on Lectric’s controller. To get your e-bike again to the way it was, you should use the handbook to see the default quantity for every setting, or contact the corporate for further assist.